To create or edit labels you require editing rights.
Labels vs Folders
The Archilogic dashboard uses labels instead of folders to manage floors.
Using labels gives you more flexibility in how to organize your floors as you can assign several labels to one floor. In addition, you can also filter for more than one label which can be handy if you’re looking for a group of floors instead of just a single one.
Create a label from the dashboard
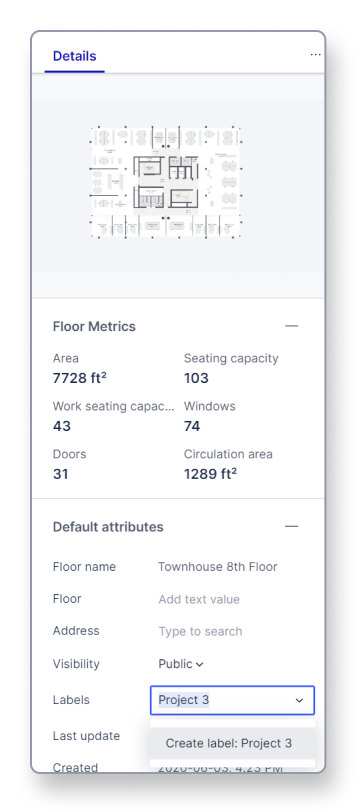
Find the model to which you want to add a label in the list and left-click to select it.
Then find the Labels entry under Default attributes in the inspector panel on the right side of the dashboard and left-click the Select value drop-down menu next to it.
If there are already existing labels you can now select one of them.
You can also type in a new label name into the field and click the Create label: … button that will appear below to create a new label.
 Create a label from the Organization settings
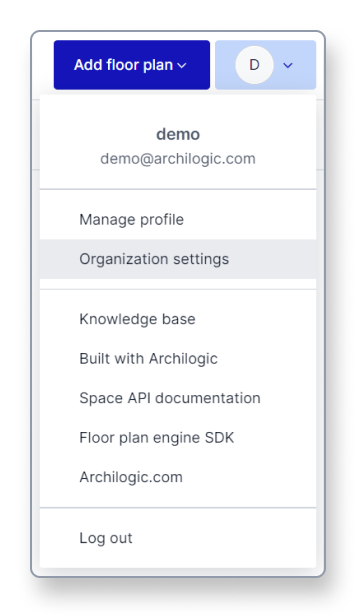
Open your Organization settings to create a new label.
To do so click the account button in the top-right corner of the Archilogic dashboard and select Organization settings from the drop-down menu.
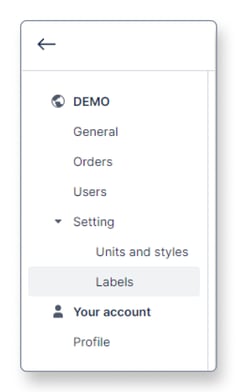
Then select Labels in the menu on the left side of the window.
The labels menu will open showing you to see all previously created labels. In addition, you can also create a new label here by left-clicking the blue Add label button.
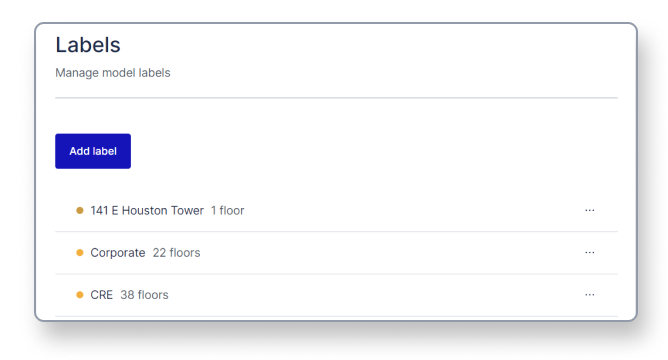
After clicking the Add label button you can give the new label a descriptive name, and also select a color that will be displayed next to it. Click the Save button once you’re happy.

The newly created label can now be assigned to as many models as you want in the dashboard.