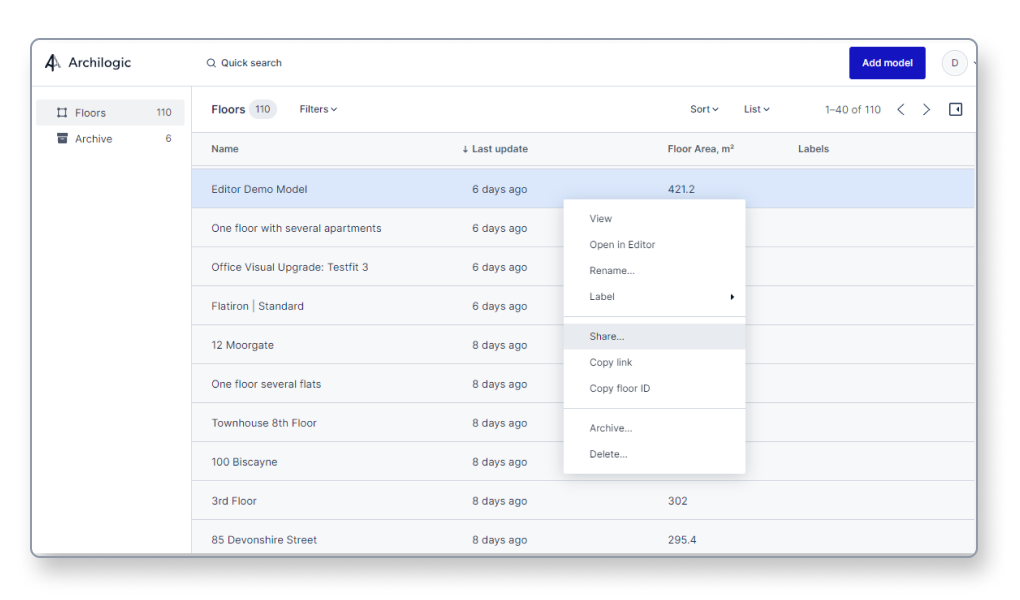
To adjust the share settings you must first log into your Archilogic dashboard. Then find the model you wish to share in the list, right-click it and select Share… from the context menu.
Alternatively, you can also select the model with a left-click and then click the button with the 3 vertical dots in the inspector panel and select Share… from there.

The share menu will open giving you the option to copy a link, embed code, or QR code of your building model. Switch to the Settings tab to adjust the share options.
The first option lets you decide whether you want the URL or the embedded iframe to open in 2D or 3D mode.
Next, you'll find five toggles that let you further customize the appearance of the model you're sharing.
- Show logo - specify the visibility of the company logo that you've set up in your account settings.
- Show title - specify whether or not the building model title is shown.
- Allow share - specify whether or not to show the share options (if you want to allow other people access to the same share menu you're using right now).
- Allow 2d / Allow 3d - This toggle changes depending on whether the Open as 2d or 3D is selected. It controls whether the building model can be viewed in the other view mode respectively.
- Allow image export - specify whether or not the image export feature is available.
Next, you can define the default units of the shared building model and choose between metric or imperial units.
Space labels
The toggles in the Space labels section allow you to control whether or not the following values are shown on the 2D floor plan view.
- Show name - Specify if the custom names of individual spaces should be shown or not.
- Show custom ID - Specify if the custom IDs of individual spaces should be shown or not.
- Show usage - Specify if the usage of the space should be shown or not.
- Show size - specify whether or not the square area number is shown on the floor plan.
3D settings
3D settings only have an impact on the 3D view mode.
The bookmark tour drop-down menu allows you to control how the camera behaves during the bookmark tour:
- None - when the model is loaded, a bookmark tour will not begin (the camera won't move on its own).
- First - when the model is loaded, the camera will automatically move to the first bookmark and then stop.
- Once - when the model is loaded, the camera will fly through all the bookmarks once and then stop.
- Loop - when the model is loaded, the camera will continuously fly through all the camera bookmarks without stopping at the end.
The next 2 toggles give you further control over how the 3D view mode behaves:
- Show bookmarks - this allows you to control whether the bookmarks menu is shown or minimized.
- Autostart - controls whether the 3D model is automatically loaded when visiting a website where it is embedded or if it has to be clicked first before the 3D content is loaded. The former might have an impact on the overall loading time of the website as the 3D content is being loaded alongside the rest of your website.
Once you’re happy with your setup return to the Share tab and copy the model link, embed code, or QR code.
Be advised that updating the settings will change the link, embed code, or QR code.